Are you a car enthusiast eager to dive into the world of car maintenance and troubleshooting? Whether you’re a beginner or an aspiring DIY expert, understanding your car’s health is crucial. In this guide, we’ll cover the basics of diagnosing and fixing common issues, focusing on ball joint problems, and even explore the intriguing topic of “ball joint replacement cost.”
Checking Ball Joints: Your Car’s Stability Indicator
Ball joints play a pivotal role in your car’s suspension system, ensuring stability and smooth maneuvering. If you’re experiencing unusual noises or steering issues, checking your ball joints is a smart move. Here’s a step-by-step guide:
- Loosen lug nuts slightly and engage the parking brake.
- Lift the front of your car using jack stands on a flat surface.
- Gently rock the tire in and out along the wheel’s axis. Minimal play is normal, but excessive movement indicates a ball joint issue.
- Noise from the top suggests upper ball joint problems, while noise from the bottom points to lower ball joint trouble.
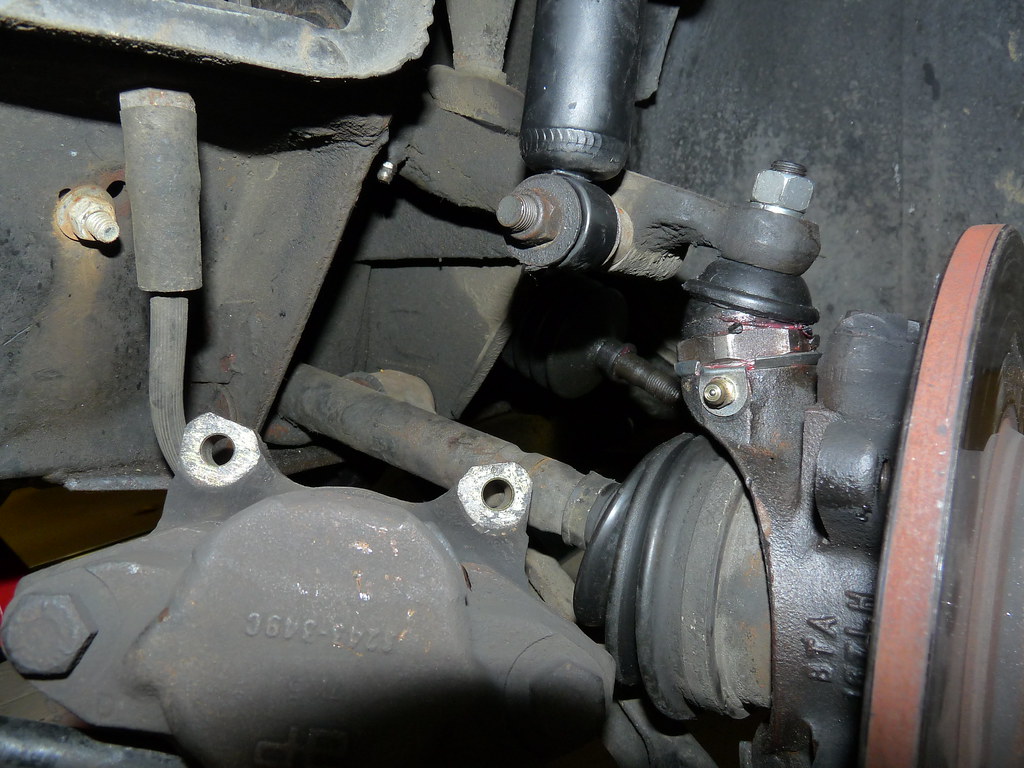
- For a visual inspection, remove the wheel and look for rust, damaged dust boots, or grease leakage.
- Use a pry bar to check for play or clicking sounds. A good ball joint should not be loose.
- Repeat the process for all wheels.
Deciphering Ball Joint Replacement Cost
If your ball joints need replacement, cost is a key concern. On average, ball joint parts range from $80 to $150 each, with luxury cars reaching up to $350. Labor costs around $250 to $300, varying by repair shop rates. Your ballpark cost is typically between $400 and $800. For instance, a 2005 Toyota Camry’s ball joint costs around $85 each, totaling $450 with labor. A 2010 ML-Class Mercedes might set you back $578 for both front ball joints, labor included.
Smart Savings Strategies
- Aftermarket Parts: These third-party alternatives can be cost-effective, starting at $20. Check user reviews and opt for parts with warranties.
- DIY Replacement: Doing it yourself eliminates labor costs, saving around $250. If comfortable, tackle the task using necessary tools.
Mastering Ball Joint Replacement
Replacing ball joints isn’t for the faint-hearted, but with dedication and guidance, it’s manageable. Here’s a condensed version of the process:
Phase 1: Removing the Old Lower Ball Joint
- Loosen wheel nuts and elevate the car securely.
- Remove wheels and axle nut.
- Apply penetrating fluid to relevant bolts.
- Loosen caliper bolts and disconnect control arms.
- Separate steering knuckle from lower ball joint.
- Spray the joint area and remove the snap ring.
- Use a ball joint splitter to detach the old joint.
Phase 2: Installing the New Lower Ball Joint
- Clean the ball joint area.
- Insert the new ball joint using a presser.
- Install the snap ring and grease fitting (if applicable).
- Reconnect control arms and steering knuckle.
- Secure caliper and tighten bolts with a torque wrench.
- Grease the lower ball joint.
Phase 3: Replacing the Upper Ball Joint
- Jack up the car, remove the wheel and axle nut.
- Loosen brake and ABS line.
- Tilt upper knuckle outward to access the joint.
- Remove snap ring and old joint.
- Install and secure the new joint.
- Grease and reinsert the snap ring.
- Reattach control arms and tighten bolts.
- Lower the car, reinstall the wheel and axle nut.
Remember, these processes demand patience and precision. Visual guides, like ChrisFix’s videos, can be invaluable resources.
Rev Up Your Knowledge and Confidence
Empower yourself with these fundamental steps to diagnose and address car issues, specifically ball joint problems. By understanding the “ball joint replacement cost” and adopting smart strategies, you’ll not only keep your car running smoothly but also embark on a thrilling journey into the world of automotive maintenance.


