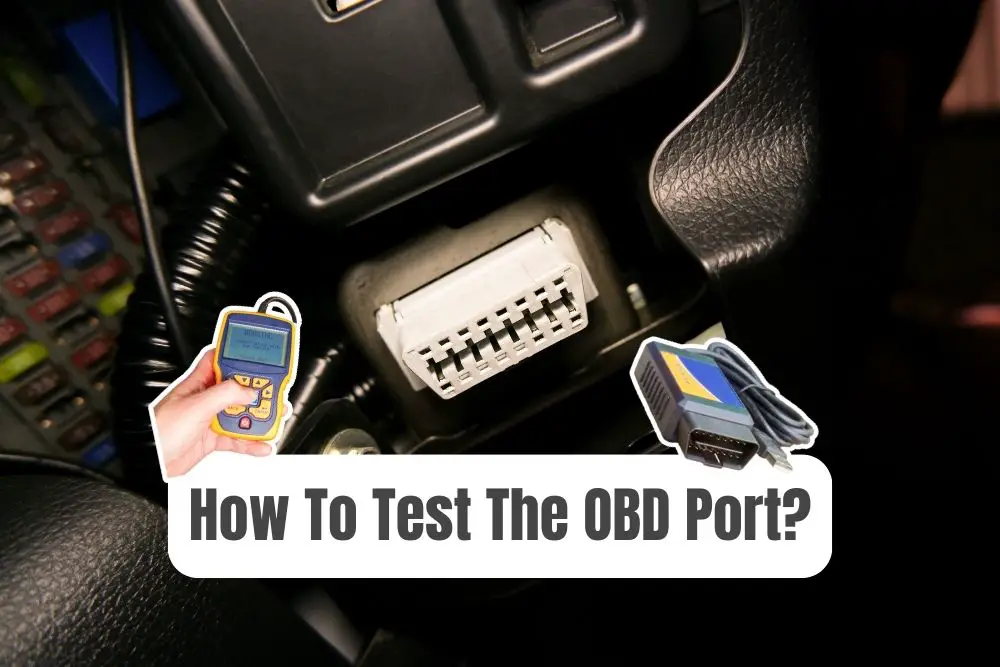
The OBD-II – aka ‘onboard diagnostics’ – function in your car is a godsend for diagnosing, tracking down, and troubleshooting car problems. However, what if the OBD port isn’t working, how do you test it?
Testing whether or not the OBD port in your car is working or otherwise can be a bit challenging, but it’s certainly not impossible. A visual inspection of the connector is a good first step, before going deeper.
If you can’t spot any problems visually, checking the connector’s power and ground, as well as testing its fuse and the OBD’s connection with your car’s ECU, ought to give you a better idea of what’s wrong.
If you want to test whether your car’s OBD port is working, I’ve compiled this quick guide to show you how to do it…
- Step 1: Visual inspection & analysis
- Step 2: Power and ground check
- Step 3: Testing your fuses
- Step 4: Testing the ECU connection
- Step 5: Data Link Connector testing
- Step 6: Making repairs & fixes
Step 1: Make A Visual Inspection Of The Connector
Fun Fact: OBD-II is a standardized diagnostic connector used in all cars manufactured from 1996 onwards in the United States. It provides access to the status of various vehicle subsystems and is essential for any in-depth diagnostics or troubleshooting.
If you’re keen to test your OBD port for any issues, a thorough visual inspection of the OBDII connector is your first step. This connector, usually located under the dashboard, is often prone to physical damage.
This is mostly due to its placement. So, check each pin on the OBD connector carefully. Are there any pins that are bent, pushed back, or missing entirely? These issues are more common than you might think.
And, these issues can disrupt the connection between your diagnostic tool and the car’s computer system. Even minor damage can lead to significant connectivity problems, so making a visual inspection is vital.
Step 2: In-Depth Power and Ground Check
If a visual inspection doesn’t reveal any issues, we could move on to checking the OBD system’s electrical connections. To accurately check the power and ground of the OBDII port, follow these detailed steps:
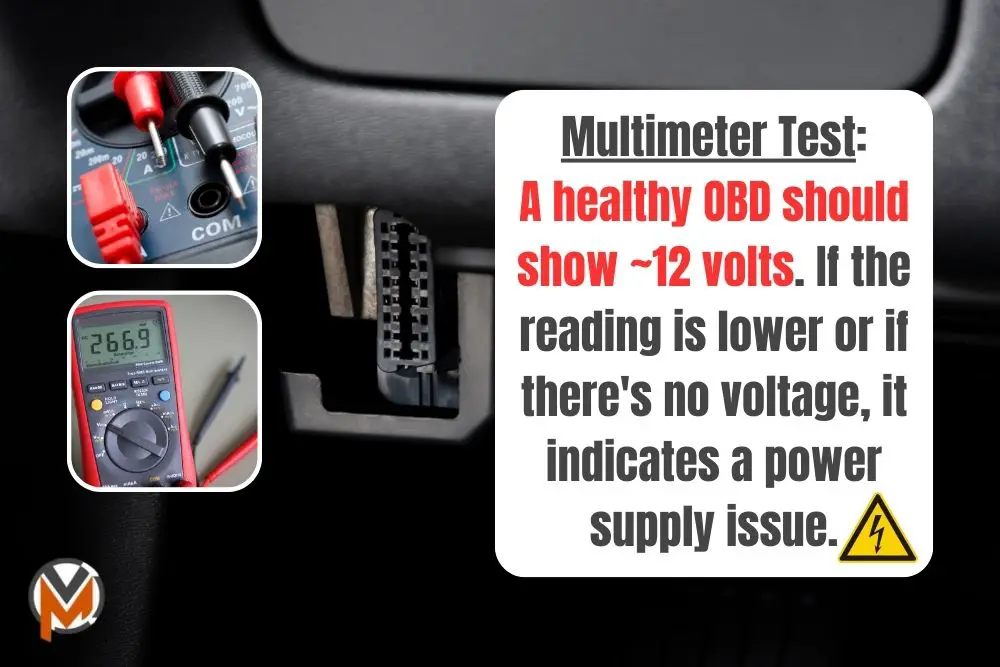
- Set Up Your Multimeter: With a multimeter on hand, switch your digital multimeter readings to the volts-DC setting. A multimeter is essential for diagnosing any electrical issues in vehicles, including likely faults with the OBD system.
- Prepare the OBDII Connector: Now, try and locate pins 5 and 16 on the OBDII connector. For context, Pin 5 is the ground, while Pin 16 is the battery power supply for the OBD connection and electrical system.
- Insert T-Pins: Once you’ve found the pins, carefully insert T-pins into these locations. These pins will serve as your test points on the OBD connection.
- Connect the Multimeter: Grab your multimeter once again, go ahead and attach the positive (red) lead of your multimeter to pin 16 and the negative (black) lead to pin 5.
- Read the Voltage: A healthy OBD system should show around 12 volts. If the reading is significantly lower or if there’s no voltage at all, it indicates a power supply issue to the OBD-II port.
Step 3: Comprehensive Fuse Testing
Your car’s OBD-II port’s functionality is often dependent on a specific fuse in your car’s fuse box. This fuse can be labeled as “accessory,” “ACC,” or “CIG” and is typically shared with other car accessories.
If these accessories and components – like the cigarette lighter – aren’t working, it’s a strong sign that the fuse might be blown. Locate and inspect this fuse. If it’s damaged, replace it and retest the OBD-II port.
Step 4: ECU Connection Analysis
If the aforementioned fuse is intact but the OBD-II port still isn’t working, the underlying issue might lie in its connection to your car’s Engine Control Unit (ECU). This step will require a bit of technical know-how:
- Access the ECU: First up, you’ll need to locate the ECU in your car, which is often under the hood or beneath the dashboard.
- Check the Wiring Diagram: Refer to your vehicle’s service manual for the ECU’s wiring diagram. This will show you which specific OBD-II pins connect to the ECU.
- Test for Continuity: Using your multimeter once again, check for continuity between the OBD-II pins and their corresponding ECU pins. A lack of continuity suggests a broken wire or a bad connection.
Step 5: Data Link Connector (DLC) Evaluation
Sometimes, the OBD-II port and OBD system on your car may be powered on, but it’s unable to transmit any actual data. This issue often stems from problems with your car’s Data Link Connector (DLC):
- Inspect the DLC: Look and analyze for any signs of damage, loose connections, or corrosion in and around the Data Link Connector.
- Check Wire Integrity: In addition, it would also help to ensure that all wires are securely connected, and they’re not frayed or broken.
- Ensure Proper Seating: On top of that, verify that the DLC connections are properly seated and connected.
Step 6: Proceeding With Repairs And Fixes
If you’ve been able to come to a conclusion on what went wrong in particular, or what’s caused your car’s OBD system to not work, it’s time to consider what’s next to fix it. Here are some possible solutions:
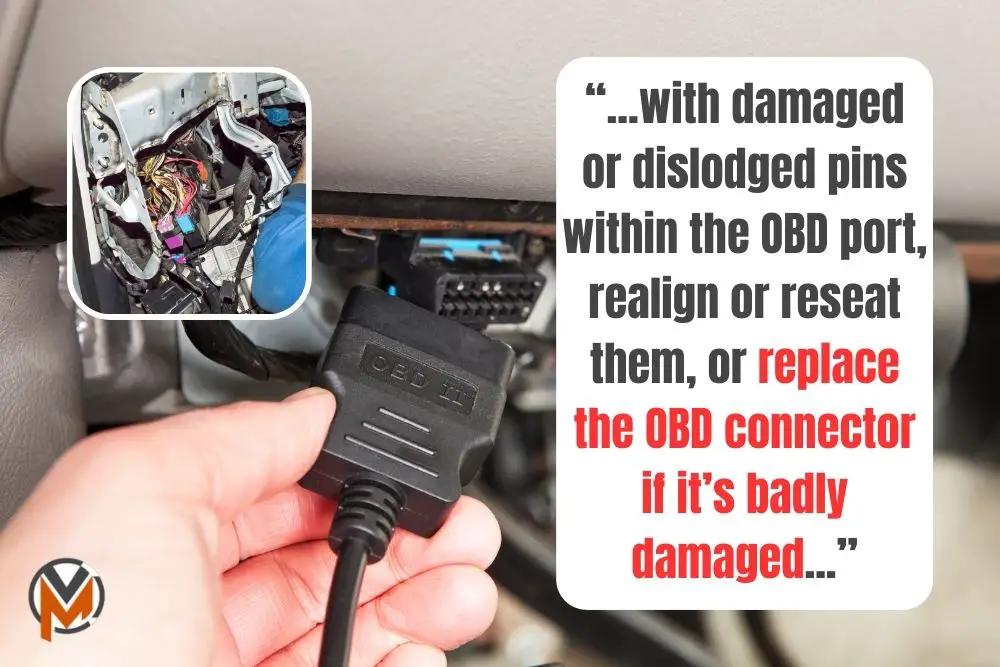
- Damaged Pins: If you find damaged or dislodged pins within the OBD-II connector, carefully realign or reseat them. If the damage is too severe though, replacing the entire connector might be necessary.
- Blown Fuse: After replacing a blown fuse in your car, always retest the OBD-II port. Sometimes, a blown fuse might be a symptom of a larger electrical issue, so a more detailed diagnosis is required.
- Wiring Issues: Repairing or replacing damaged wiring in your car is crucial. This might involve soldering wires or using butt connectors for a secure fit, although this depends on the exact problems faced.
- Bad ECU: Diagnosing a faulty ECU is rather complex and often requires professional intervention. If you suspect ECU problems, it’s advisable to consult with a certified mechanic to see what can be done.